


Recent Posts


Big Blue Sediment Filter Installation
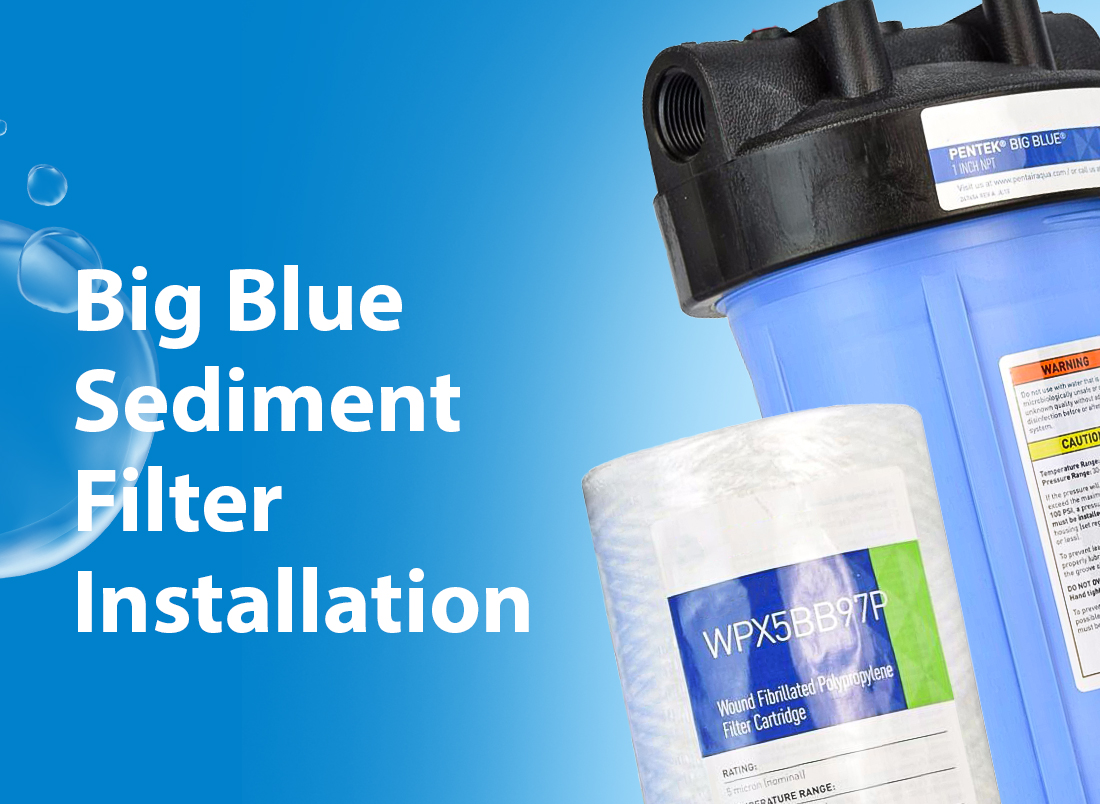
Sediment in your water supply will reduce water flow by clogging faucet aerators and water filters. Rust, sand and grit damages dishwashers, washing machines, coffee makers and toilet fill mechanisms. A sediment filter captures abrasive sediment before it damages appliances and clogs plumbing. A whole-house sediment filter protects every faucet and water outlet in the home.
- Read the installation instructions that came with the filter. It will give you an idea of what you’ll need to connect the sediment filter to the main water supply. Installation is a DIY project but a plumber is recommended if you are unfamiliar with plumbing practices.
- Select a near the incoming water source. Ideally the filter can be located where it is easy to access during cartridge changes. Be sure to leave about four inches of clearance below the filter so the housing can be removed.
- Turn off the main water supply.
- Turn off power to the water heater at the breaker box.
- Relieve the water pressure by draining water from the plumbing system. Open sink valves and outdoor hose connections to empty the pipes of water.
- Since filters are installed to many different water line sizes, adapters and threaded fittings may be needed to adapt to your pipe size. These are available from a hardware or plumbing supply store.
- Use a tubing cutter to remove a section of copper pipe, allowing room for the filter to be installed between a gap between the pipes.
- Using the proper fittings, connect the filter to the pipes. It is helpful to remove the filter housing while attaching the fittings.
- Replace the filter and housing then turn on the main water supply.
Related Products

Conversation 0 Comment(s)